





The Needle Guide
Right Needle. Better Stitches.
A simple guide to choosing the right needle for your fabric, thread, and project.
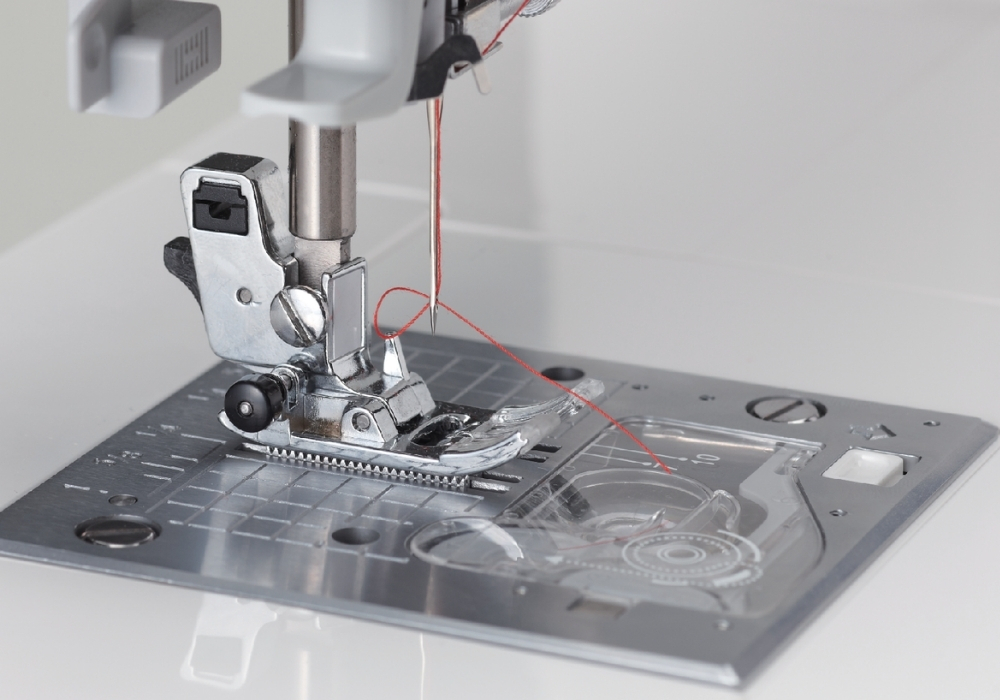
Choosing the right sewing machine needle can make a big difference in how your project sews. The right needle can help reduce skipped stitches, thread shredding, puckering, and fabric damage.
This guide breaks it down simply so you can choose the right needle for your fabric, thread, and project with more confidence.
What Parts of the Needle Matter?
You don’t need to memorize every part — just understand the pieces that affect your stitch.

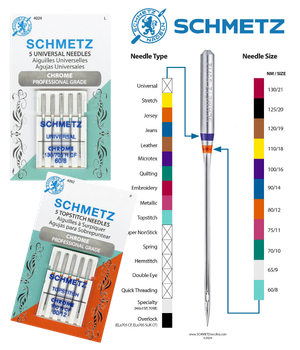
- Shank The top part that fits into your machine.
- Shaft The body of the needle. A larger size means a stronger, thicker needle.
- Eye The hole that thread passes through.
- Point The tip of the needle. Different points are designed for different fabrics and projects.
What Parts of the Needle Matter?
You don’t need to memorize every part — just understand the pieces that affect your stitch.
- Shank The top part that fits into your machine.
- Shaft The body of the needle. A larger size means a stronger, thicker needle.
- Eye The hole that thread passes through.
- Point The tip of the needle. Different points are designed for different fabrics and projects.
Before choosing a needle, it helps to understand the few parts that actually affect your stitch. You do not need to memorize every technical detail — just know the pieces that matter most.
The shank fits into your machine. The shaft is the body of the needle, where size matters. The eye is where the thread passes through, and the point is what meets your fabric first.
Once you understand those basics, choosing the right size and type gets much easier.
What do Needle Sizes Mean?
Needle sizes use two numbers, like 80/12 . The first number is European sizing. The second is U.S. sizing.
- European Size:
- The metric system (70, 80, 90, 100)
- U.S. Size:
- The American system (10, 12, 14, 16)
- 70/10 Fine Fabrics
- 80/12 Everyday Sewing
- 90/14 Medium Fabrics
- 100/16 Heavier Projects
Needle sizes use two numbers, like 80/12. The first number is the European size, and the second number is the U.S. size.
The simple rule is this: a smaller number means a finer needle, and a larger number means a stronger needle.
Use finer needles for lighter fabrics and larger needles for heavier fabrics, thicker seams, or multiple layers. These are starting points, so always test on a scrap before sewing your final project.
Which Needle Should I Use for My Project?
Start with your project, choose your needle type, then fine-tune the size.
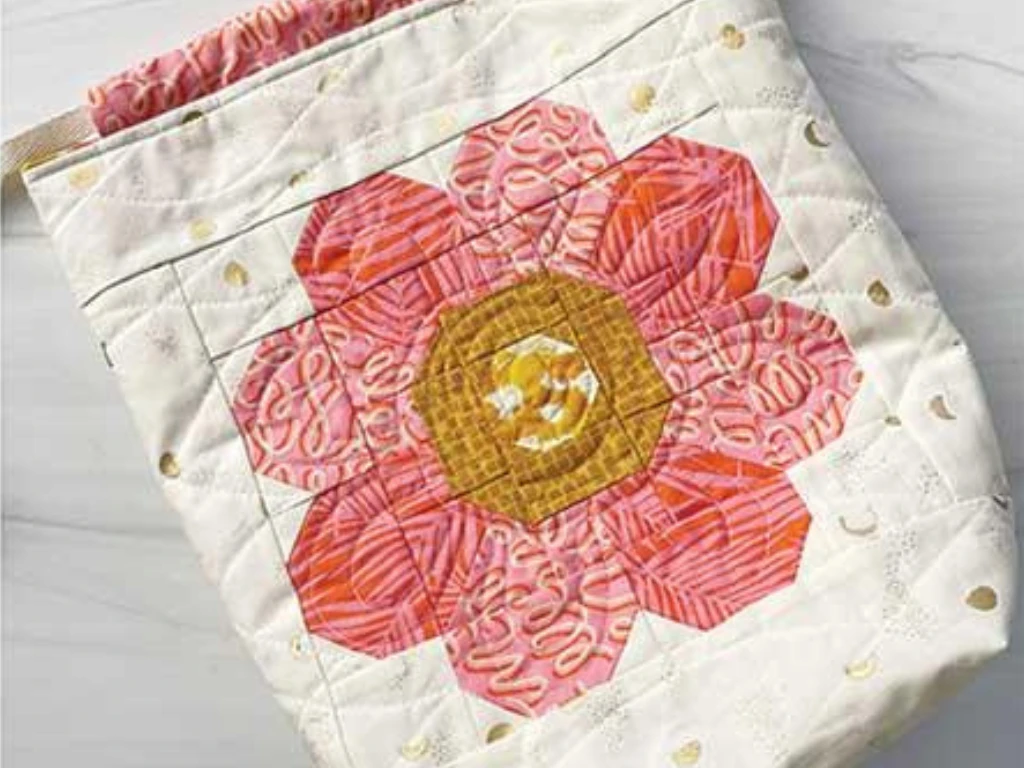
Everyday Sewing
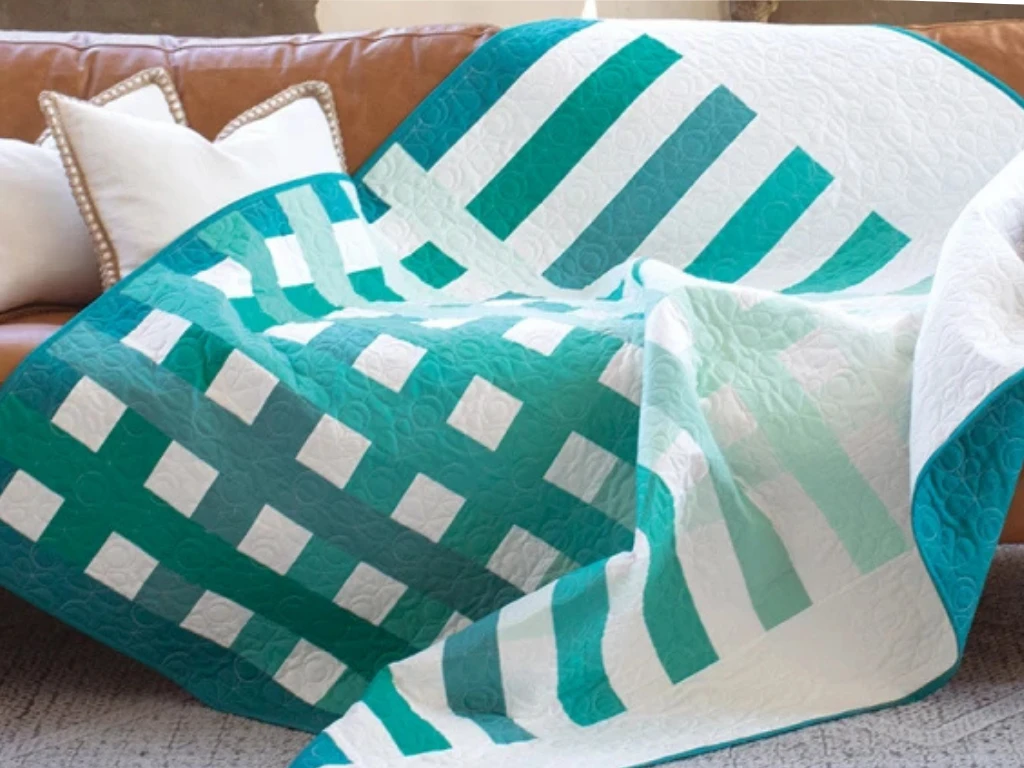
Piecing & Quilting
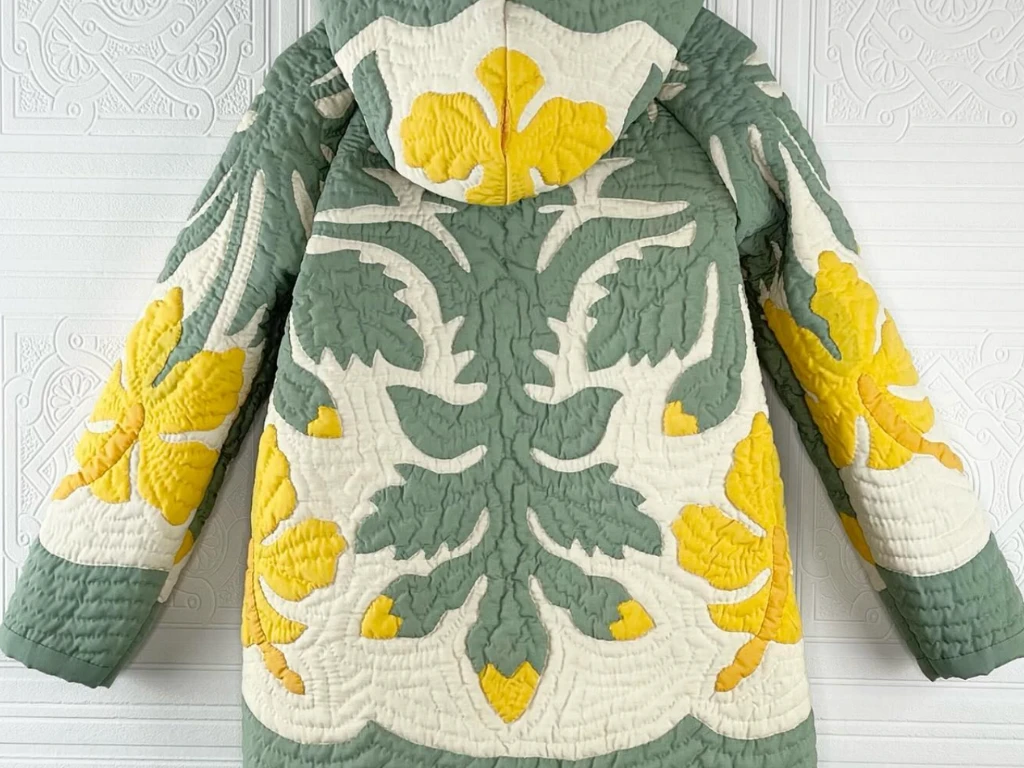
Garment Making
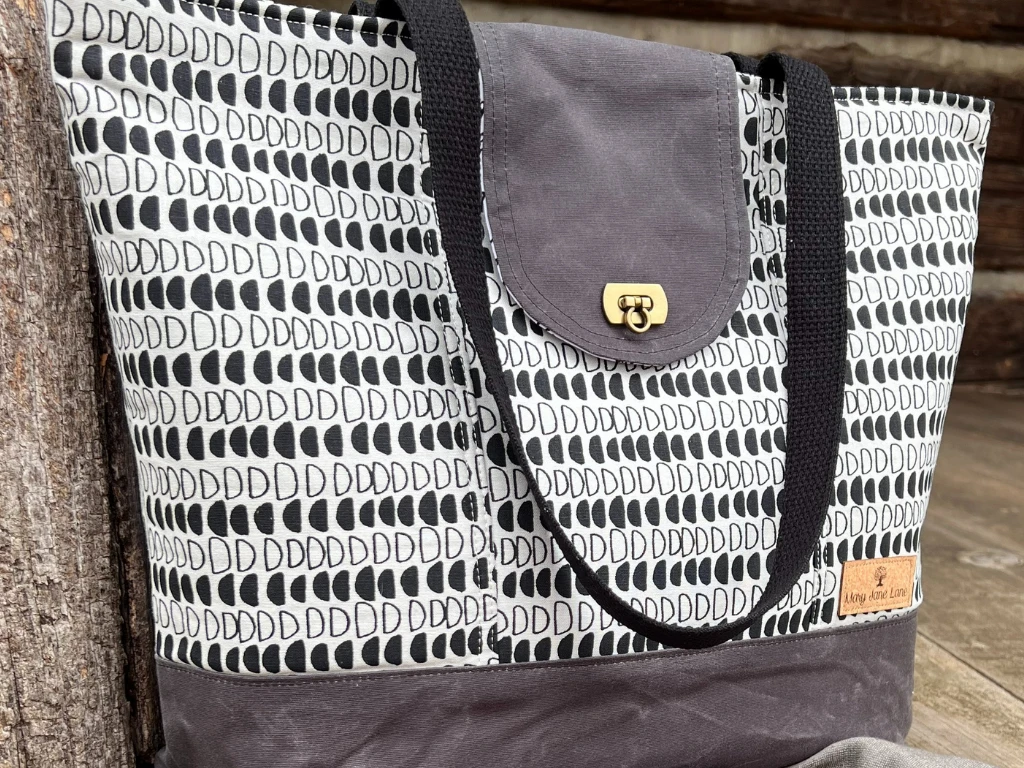
Bag Making
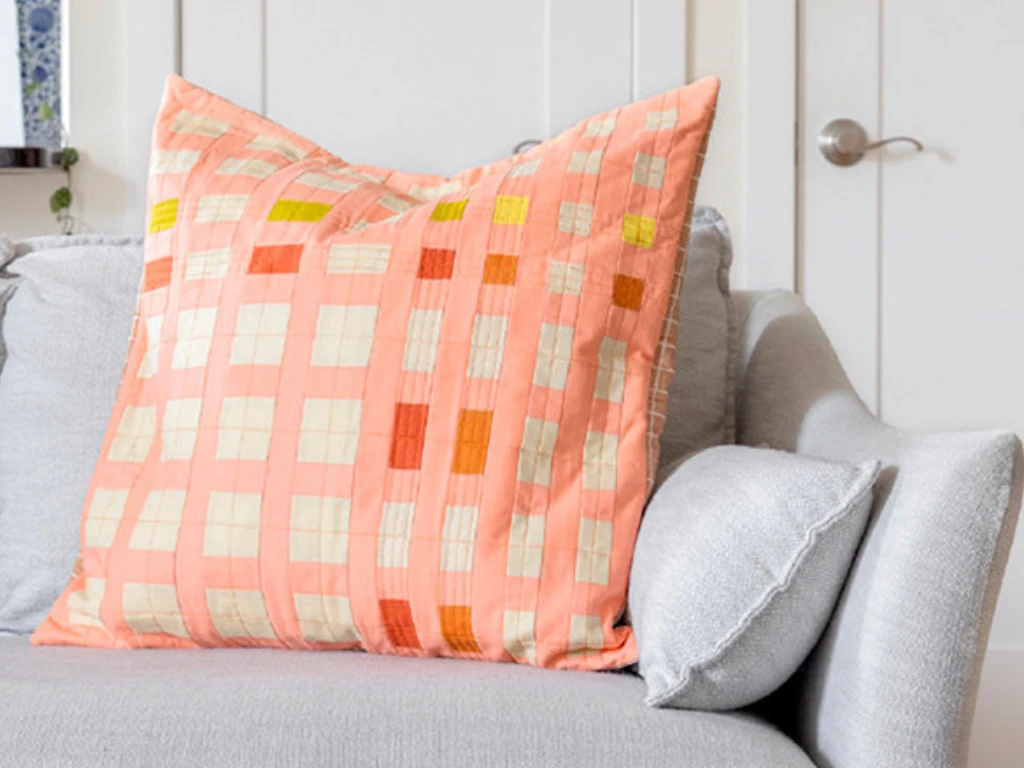
Home Decor
A good way to choose your needle is to start with what you are making. Everyday sewing, piecing, quilting, garment making, bag making, and home decor projects all place different demands on your needle. The fabric, layers, thread, and technique all matter.
Start with your project first, choose the needle type that best fits the job, then fine-tune the size based on your fabric and stitch quality.
How Do I Know When to Change My Needle?
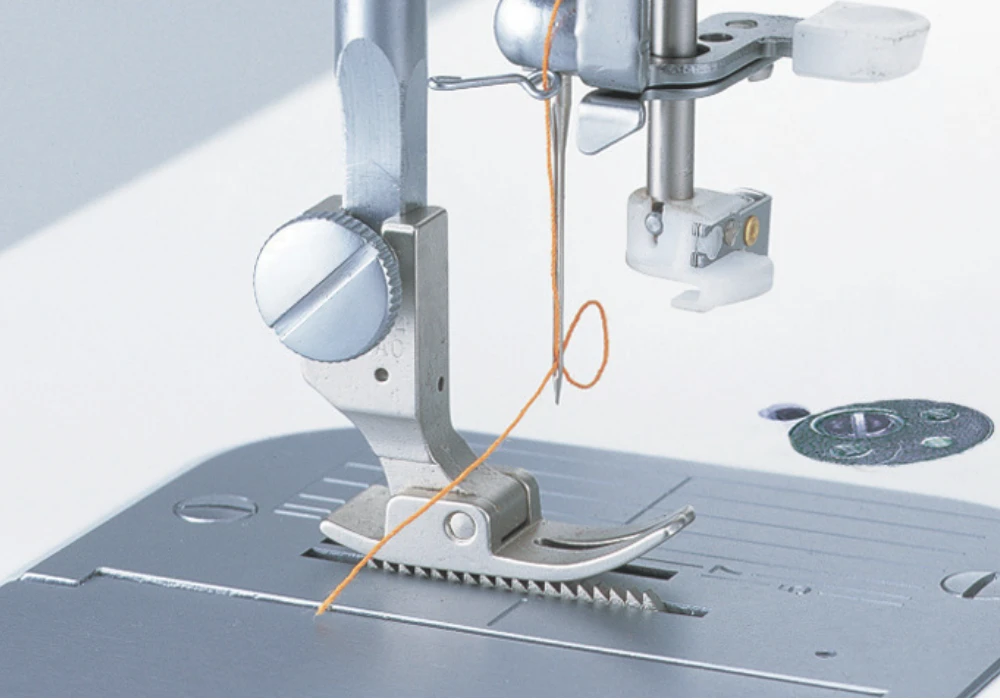
Even the right needle will eventually get dull, bent or damaged. If your machine suddenly starts acting up, your needle is one of the first things to check.
Look for these signs
Skipped Stitches
Stitches look inconsistent or missed.
Thread Breaking
Thread keeps shredding or breaking.
Popping / Clicking
You hear a new sound while sewing.
Puckering
Fabric gathers when it shouldn’t.
Snagged Fabric
Needle leaves holes or snags.
It’s Been a While
Change every 8–10 hours of sewing.
Skipped stitches, thread breaking, puckering, snagged fabric, or a new popping/clicking sound can all be signs that it is time for a fresh needle.
When in doubt, change the needle. It is one of the easiest fixes for better stitches.
Still Unsure? We Can Help.
Choosing the right needle gets easier once you know what to look for. Start with your project, use the guide above, and test on a scrap before sewing your final piece.
These are starting points. Always test on a scrap.